African Animal Pencil Drawings Step-by-Step: Unleash Your Artistic Side!
Welcome to the captivating world of African wildlife, where majestic creatures roam freely across diverse landscapes. Have you ever dreamt of capturing their beauty and spirit on paper? Today, we’re diving into the exciting journey of learning how to create stunning pencil drawings of African animals, step by step!
This guide will equip you with the skills and knowledge needed to transform your passion for African wildlife into breathtaking works of art. We’ll cover everything from choosing the right pencils and paper to mastering essential drawing techniques and adding realistic details that bring your creations to life.
Get ready to unlock your inner artist and embark on a creative adventure that celebrates the wonders of Africa’s incredible animal kingdom.
Choosing Your Tools: The Foundation of Your Artwork
Before we dive into the drawing process, it’s essential to select the right tools. These will be your companions throughout your artistic journey, so choosing wisely is crucial.
Pencils: Your Drawing Companions
- Hard Pencils (H): These pencils produce light, precise lines and are ideal for creating outlines, sketching, and adding subtle details. Experiment with different grades, such as 2H, H, and HB, to achieve varying levels of darkness.
- Medium Pencils (B): These pencils provide a darker line and are perfect for shading, creating mid-tones, and building depth in your drawing. Experiment with grades like 2B, B, and 4B to discover the perfect balance for your needs.
- Soft Pencils (B): These pencils produce deep, rich lines and are excellent for creating shadows, textures, and adding dramatic effects. Consider using pencils like 6B, 8B, and 9B to enhance your shading and create striking contrasts.
Paper: The Canvas for Your Art
The quality of your paper plays a significant role in the final appearance of your drawing.
- Smooth Paper: This type of paper creates crisp lines and is ideal for detailed drawings, as it provides a consistent surface for blending and layering.
- Textured Paper: This paper adds a unique dimension to your drawings by creating interesting patterns and textures, perfect for capturing the fur, feathers, or scales of African animals.
- Drawing Paper: This paper offers a good balance of smoothness and texture, making it suitable for a variety of drawing styles.
Step-by-Step Guide to Drawing African Animals
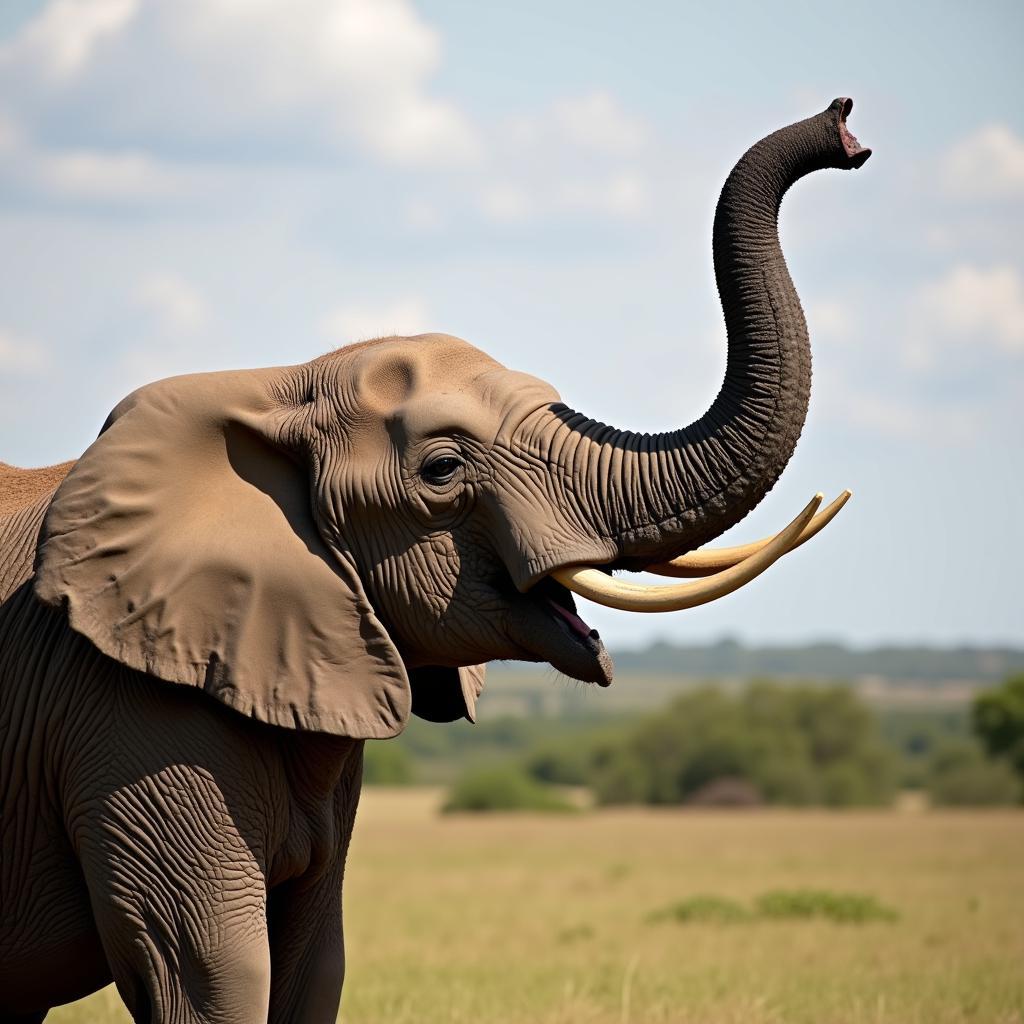
Now, let’s embark on our drawing journey! We’ll focus on creating a realistic pencil drawing of an African elephant, but the techniques we’ll cover can be applied to any African animal you choose.
Step 1: Gathering Inspiration and Reference Images
The first step is to immerse yourself in the world of African elephants. Browse through photography books, websites, or documentaries to gather inspiration and find reference images.
Pro tip: Focus on reference images that capture the elephant’s unique features, anatomy, and the natural environment they inhabit.
Step 2: Sketching the Outline
Using a light pencil, start by lightly sketching the elephant’s outline. Don’t worry about perfection at this stage; focus on getting the proportions and overall shape correct.
Pro tip: Break down the elephant’s anatomy into simpler shapes to help you achieve a more balanced and accurate outline.
Step 3: Layering the Details
Once you’re happy with the outline, begin adding details. Start with the elephant’s eyes, ears, and trunk, then move on to its legs, body, and tusks. Use a variety of pencils to create different shades and textures, adding depth and dimension to your drawing.
Pro tip: Use a light pencil to create the lightest areas of the elephant’s skin, gradually increasing the pencil pressure as you move towards darker areas.
Step 4: Mastering Shading Techniques
Shading is the key to bringing your drawing to life, creating the illusion of light and shadow. There are several shading techniques you can use:
- Hatching: This technique involves creating parallel lines that gradually get closer together to represent darker areas.
- Cross-Hatching: This technique involves layering lines at different angles to create even deeper shades and textures.
- Blending: This technique involves using your fingers or a blending stump to soften the edges of your shading, creating smooth transitions between light and dark areas.
Step 5: Adding Texture and Realism
To make your elephant drawing truly realistic, focus on adding textures. Observe the wrinkled skin of an elephant, the rough texture of its tusks, and the subtle details of its eyes. Use your pencils to create these textures with care, adding depth and interest to your drawing.
Pro tip: Experiment with different pencil pressure and shading techniques to create a variety of textures.
Expert Insights:
“Drawing African animals is like embarking on a journey through their incredible world. Each stroke of your pencil connects you to their powerful presence and unique beauty.” – Professor Amani Mwenda, Artist and Wildlife Conservationist**
“Remember that patience and practice are key. Don’t be afraid to experiment and find what works best for you. The more you practice, the more confident you will become!” – Ms. Amina Ali, renowned Wildlife Artist**
FAQ:
Q: What are some of the most common mistakes beginners make when drawing African animals?
A: One common mistake is neglecting to study the animal’s anatomy thoroughly, which can lead to inaccuracies in proportion and shape. Another is overusing a single pencil grade, resulting in a lack of depth and contrast.
Q: How can I improve my pencil shading techniques?
A: Practice different shading techniques, like hatching, cross-hatching, and blending. Observe the play of light and shadow on real animals and study how artists create depth and dimension using shading.
Q: What are some of the best African animal drawing tutorials available online?
A: Many excellent tutorials are available online for drawing African animals, including those from ArtStation, YouTube, and Skillshare. Look for tutorials that cover a range of techniques and animal subjects.
Q: What are some additional tips for drawing African animals?
A: Experiment with different drawing styles and mediums. Incorporate elements of the animal’s natural habitat into your drawing. Most importantly, enjoy the process of creating art and let your passion for African wildlife shine through.
Conclusion:
By following these step-by-step instructions and practicing your drawing skills, you can create captivating and realistic pencil drawings of African animals. Embrace the process of learning, experiment with different techniques, and allow your creative spirit to soar.
Remember, every stroke you make is a testament to the beauty and wonder of Africa’s wildlife, so let your passion guide your art.

