Easy African Chapati Recipe: A Step-by-Step Guide
Chapati, the beloved unleavened flatbread, holds a special place in many African cuisines. This simple yet versatile bread is a staple in numerous households, enjoyed with various stews, curries, or simply on its own. If you’re looking for an easy African chapati recipe that yields soft, pliable, and flavorful results, you’ve come to the right place.
This comprehensive guide will walk you through each step, ensuring that even novice cooks can master the art of making delicious African chapati. Get ready to impress your family and friends with this culinary delight!
Understanding the Ingredients for Your African Chapati
Before we delve into the step-by-step process, let’s familiarize ourselves with the essential ingredients that contribute to the unique texture and taste of African chapati:
- All-Purpose Flour: Forms the base of the dough and provides structure to the chapati.
- Warm Water: Activates the gluten in the flour, helping create a soft and pliable dough.
- Salt: Enhances the flavor of the chapati.
- Oil: Adds richness and helps prevent the chapati from drying out.
- Optional Ingredients: Some recipes may include milk or yogurt for added softness and a slightly tangy flavor.
Easy African Chapati Recipe: A Step-by-Step Guide
Now, let’s dive into the heart of the matter and learn how to make the perfect African chapati:
Yields: 10-12 chapatis
Prep Time: 15 minutes
Cook Time: 20 minutes
Ingredients:
- 3 cups all-purpose flour
- 1 teaspoon salt
- 2 tablespoons oil
- 1 cup warm water (more if needed)
Instructions:
-
Combine the dry ingredients: In a large mixing bowl, whisk together the flour and salt.
-
Add the wet ingredients: Make a well in the center of the dry ingredients and pour in the oil and warm water. Gradually incorporate the wet ingredients into the dry ingredients using a fork or your fingers.
-
Knead the dough: Once the dough starts to come together, transfer it onto a lightly floured surface. Knead for 5-7 minutes until you achieve a smooth, elastic dough. If the dough feels too dry, add a tablespoon of water at a time until it becomes pliable.
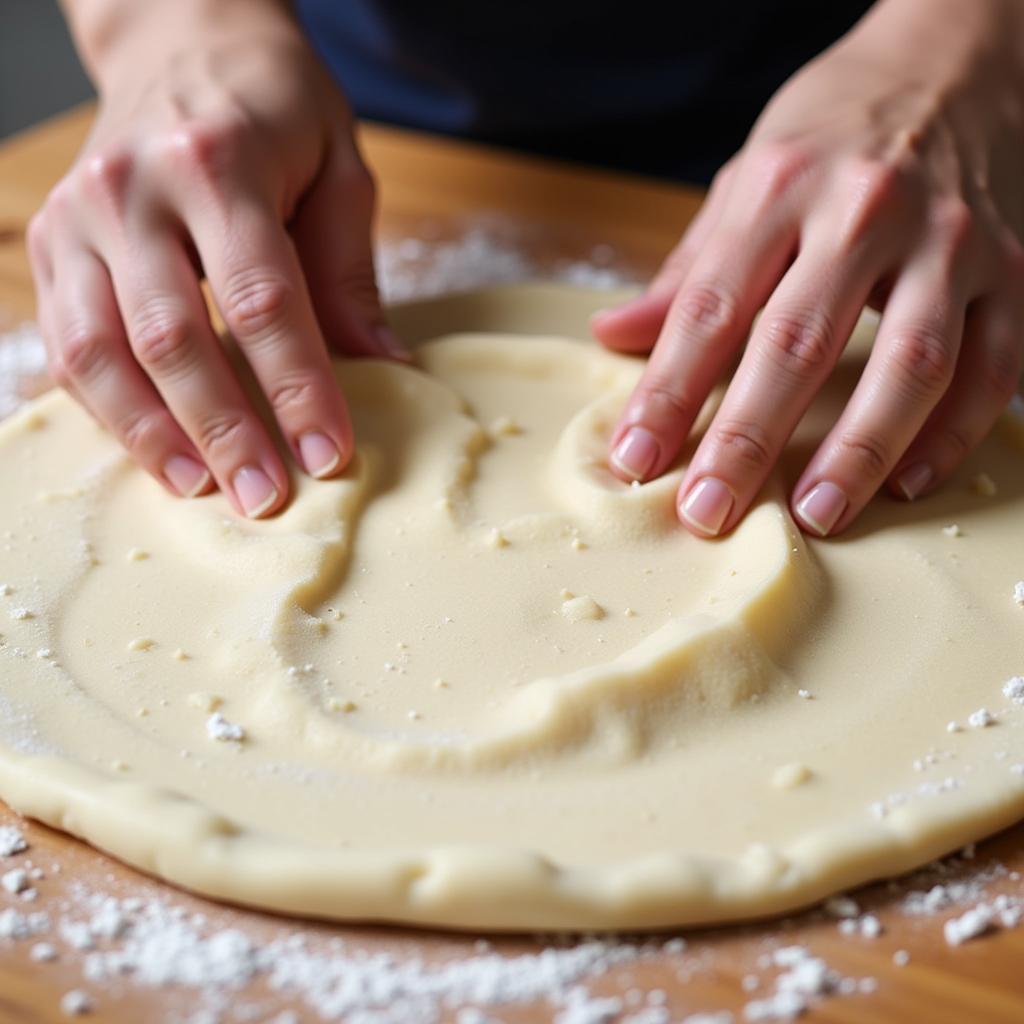 kneading african chapati dough
 -
Let the dough rest: Shape the dough into a ball, place it in a lightly oiled bowl, and cover it with a clean kitchen towel. Allow the dough to rest for at least 30 minutes. This resting period allows the gluten to relax, making it easier to roll out the chapatis.
-
Divide and shape the dough: After the resting period, divide the dough into 10-12 equal-sized balls. Roll each ball into a smooth circle.
-
Roll out the chapatis: Lightly dust your work surface with flour. Working with one dough ball at a time, roll it out into a thin circle (about 6-7 inches in diameter) using a rolling pin.
-
Cook the chapatis: Heat a flat skillet or tava over medium heat. Once hot, place the rolled-out chapati on the skillet. Cook for about 30 seconds on each side, or until you see small brown spots appear on the surface.
-
Puff up the chapatis: Once cooked on both sides, remove the chapati from the skillet. Using tongs, carefully flip the chapati over and place it directly on the open flame of your gas stove for a few seconds. This will cause the chapati to puff up, creating a pocket that you can later fill with your favorite accompaniments.
-
Serve and enjoy: Repeat steps 7 and 8 for the remaining dough balls. Serve the hot, puffed-up chapatis immediately with your choice of stews, curries, or dips.
Tips for Making the Best African Chapati
Here are some expert tips to ensure your African chapatis turn out soft, pliable, and utterly delicious:
-
Use warm water, not hot: Using water that’s too hot can kill the yeast and prevent the dough from rising properly.
-
Don’t over-knead the dough: Over-kneading can result in tough chapatis. Knead just until the dough becomes smooth and elastic.
-
Let the dough rest: Allowing the dough to rest is crucial for gluten development and will result in softer, more pliable chapatis.
-
Roll out the chapatis evenly: Ensure the chapatis are rolled out to a consistent thickness to ensure even cooking.
-
Cook over medium heat: Cooking over high heat can burn the chapatis before they have a chance to cook through.
Variations of African Chapati
While this recipe provides a basic foundation for making African chapati, several variations exist across different regions and cultures. Here are a few popular ones:
-
Coconut Chapati: This variation involves adding coconut milk to the dough for a subtly sweet and fragrant flavor.
-
Spiced Chapati: For an extra kick, try adding spices like cumin, coriander, or turmeric to the dough.
-
Stuffed Chapati: Get creative and fill your chapatis with various savory fillings, such as spiced potatoes, minced meat, or lentils.
Conclusion
Mastering the art of making African chapati is a rewarding culinary adventure. With this easy-to-follow recipe and helpful tips, you’ll be well on your way to creating soft, flavorful, and authentic chapatis that will impress anyone fortunate enough to taste them.
So, gather your ingredients, put on your apron, and embark on this delicious journey into the world of African cuisine! Don’t hesitate to experiment with different variations and find the perfect recipe that satisfies your taste buds. After all, the beauty of cooking lies in making a recipe your own. Enjoy!