The Ultimate Guide to Making Delicious African Chapati Bread
Chapati, the beloved unleavened flatbread, holds a special place in many cultures around the world, and Africa is no exception. This simple yet versatile bread is a staple in many African homes, enjoyed for breakfast, lunch, or dinner. In this comprehensive guide, we’ll delve into the art of making perfect African chapati bread, exploring its history, variations, and of course, a foolproof recipe that will have you making soft, pliable chapatis like a pro.
A Journey Through the History of Chapati in Africa
While the origins of chapati can be traced back to the Indian subcontinent, it has become an integral part of African cuisine through centuries of cultural exchange. The arrival of Indian traders and immigrants across the eastern coast of Africa played a significant role in introducing this beloved bread to the continent. Over time, chapati seamlessly integrated into local culinary traditions, adapting to regional tastes and preferences.
Regional Variations: A Tapestry of Flavors
One of the fascinating aspects of African chapati is the diversity of variations found across the continent. From the slightly sweet chapatis of East Africa to the thinner, crispier versions favored in West Africa, each region has added its own unique touch to this culinary classic. Some common additions include coconut milk for a hint of sweetness and richness, or spices like cardamom and cumin for a more savory flavor profile.
Essential Ingredients: Simplicity at its Best
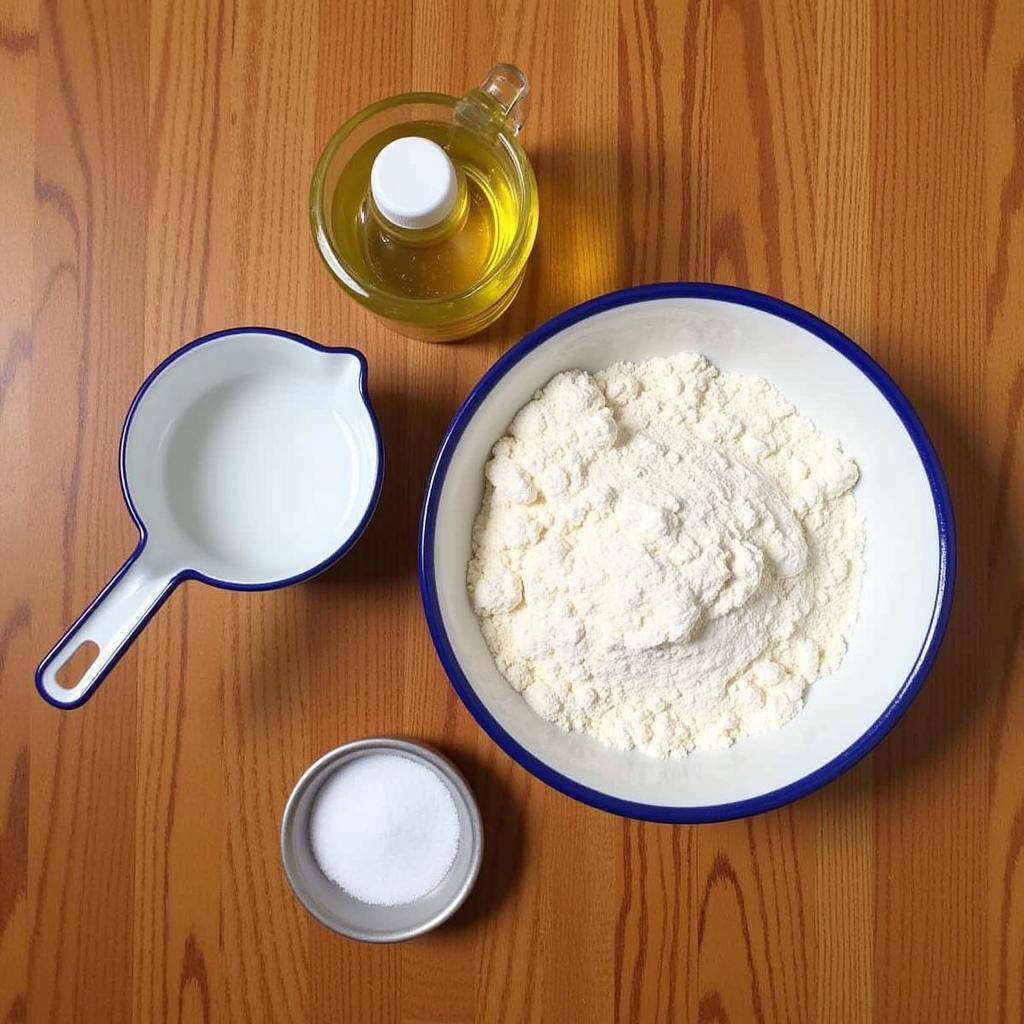
The beauty of African chapati lies in its simplicity. You only need a handful of pantry staples to create this culinary masterpiece:
- All-purpose flour: Forms the base of the dough and provides structure.
- Water: Used to bind the flour and create a pliable dough.
- Salt: Enhances the flavor and controls the yeast activity.
- Oil: Adds richness and helps to achieve soft, pliable chapatis.
 Ingredients for African Chapati
Step-by-Step Guide to Making Perfect African Chapati
Now, let’s get our hands dirty and embark on the journey of making soft, pliable African chapati bread. Follow these simple steps:
1. Combine the Dry Ingredients:
- In a large mixing bowl, combine 2 cups of all-purpose flour and 1 teaspoon of salt.
2. Gradually Add Water:
- Make a well in the center of the flour mixture.
- Gradually add warm water, about ¾ cup, while mixing with your hand or a wooden spoon.
- Continue mixing until a rough dough forms.
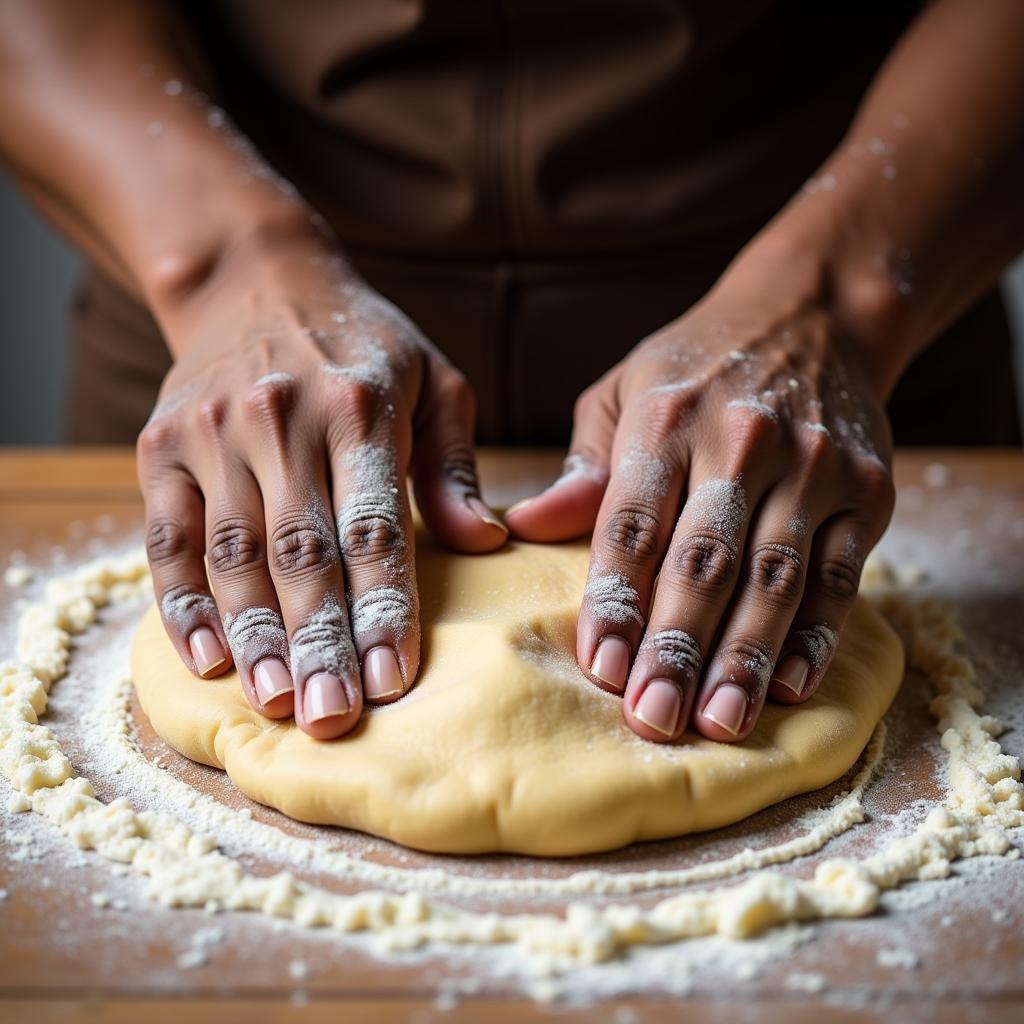
3. Knead the Dough:
- Transfer the dough onto a lightly floured surface.
- Knead for 5-7 minutes, or until the dough becomes smooth and elastic.
- Add a tablespoon of oil while kneading to make the chapatis softer.
 Kneading African Chapati Dough
4. Rest the Dough:
- Shape the dough into a ball and place it in a lightly oiled bowl.
- Cover the bowl with a clean kitchen towel and let the dough rest for at least 30 minutes. This allows the gluten to relax, resulting in softer chapatis.
5. Divide and Shape the Dough:
- Divide the rested dough into equal-sized balls. The number of balls will depend on the desired size of your chapatis.
- Using a rolling pin, roll out each ball into a thin circle, about 6-8 inches in diameter.
6. Cook the Chapatis:
- Heat a flat skillet or tava over medium heat.
- Place a rolled-out chapati on the hot skillet.
- Cook for about 30 seconds to a minute per side, or until golden brown spots appear on both sides.
7. Serving Suggestions:
- Serve your freshly made African chapati warm with your favorite stews, curries, or dips. They are also delicious on their own, spread with butter or jam.
Tips for the Best African Chapati Bread
Here are a few expert tips to ensure your African chapati bread turns out soft, pliable, and absolutely delicious:
- Use warm water: Using warm water when mixing the dough helps to activate the gluten in the flour, resulting in softer chapatis.
- Don’t over-knead the dough: Kneading the dough for too long can make the chapatis tough. Knead until the dough is smooth and elastic, but not overly stiff.
- Let the dough rest: Resting the dough is crucial for allowing the gluten to relax, resulting in softer chapatis.
- Roll out the chapatis evenly: Try to roll out the chapatis to an even thickness to ensure they cook evenly.
- Cook over medium heat: Cooking the chapatis over medium heat prevents them from burning and allows them to cook through properly.
FAQs:
1. Can I make African chapati ahead of time?
Yes, you can make African chapati ahead of time. Once cooked, let them cool completely and store them in an airtight container at room temperature for up to 2 days. You can reheat them on a skillet or in the microwave before serving.
2. What can I serve with African chapati?
African chapati is incredibly versatile and can be served with a wide variety of dishes. They are delicious with stews, curries, beans, lentils, and even as a wrap for grilled meats or vegetables.
Explore More African Culinary Delights:
If you enjoyed this recipe, be sure to check out our other delicious African recipes:
Conclusion:
Making African chapati bread is a culinary adventure that connects you to the rich food culture of the continent. With its simple ingredients, easy-to-follow steps, and endless serving possibilities, African chapati is sure to become a favorite in your kitchen. So, gather your ingredients and embark on the journey of making delicious, homemade African chapati bread today!
For personalized assistance with any questions or culinary dilemmas, feel free to contact our 24/7 customer support team:
- Phone Number: +255768904061
- Email: kaka.mag@gmail.com
- Address: Mbarali DC Mawindi, Kangaga, Tanzania.
We’re here to help you explore the vibrant world of African cuisine!


