African Elephant Drawing Easy: A Step-by-Step Guide
Want to learn how to draw an African elephant? This easy guide will help you capture the majesty of these magnificent creatures on paper. Whether you are a beginner or just looking for a simple approach, these steps will guide you through creating your own beautiful African elephant drawing.
Understanding the African Elephant’s Form
Before you start sketching, it’s helpful to familiarize yourself with the basic anatomy of an African elephant. Observe their key features: large head and ears, a heavy body, thick legs, and of course, the iconic tusks and trunk.
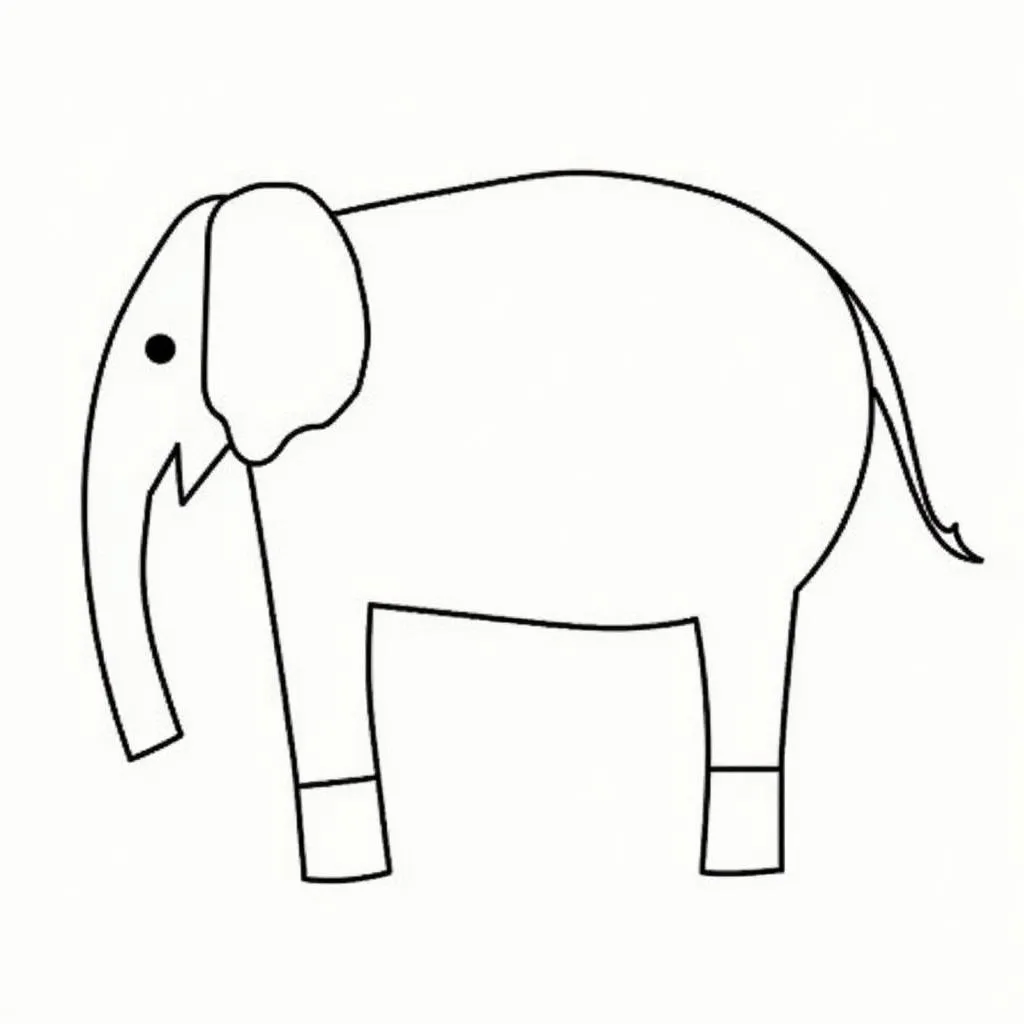
 Simple shapes outline for drawing an African elephant
Sketching the Outline
- Start with the body: Lightly draw a large oval shape to represent the main bulk of the elephant’s body.
- Add the head: Draw a circle slightly overlapping the top of the oval. This will be your elephant’s head.
- Connect head and body: Smoothly connect the head and body with curved lines, forming the back of the neck.
- Sketch the legs: Draw four thick, cylindrical legs. Remember, African elephants have two toenails on their back feet and three to five on their front feet.
- Add the trunk: Draw a long, curved line extending from the bottom of the head for the trunk.
Refining the Details
Now that you have a basic outline, it’s time to add details that bring your African elephant drawing to life.
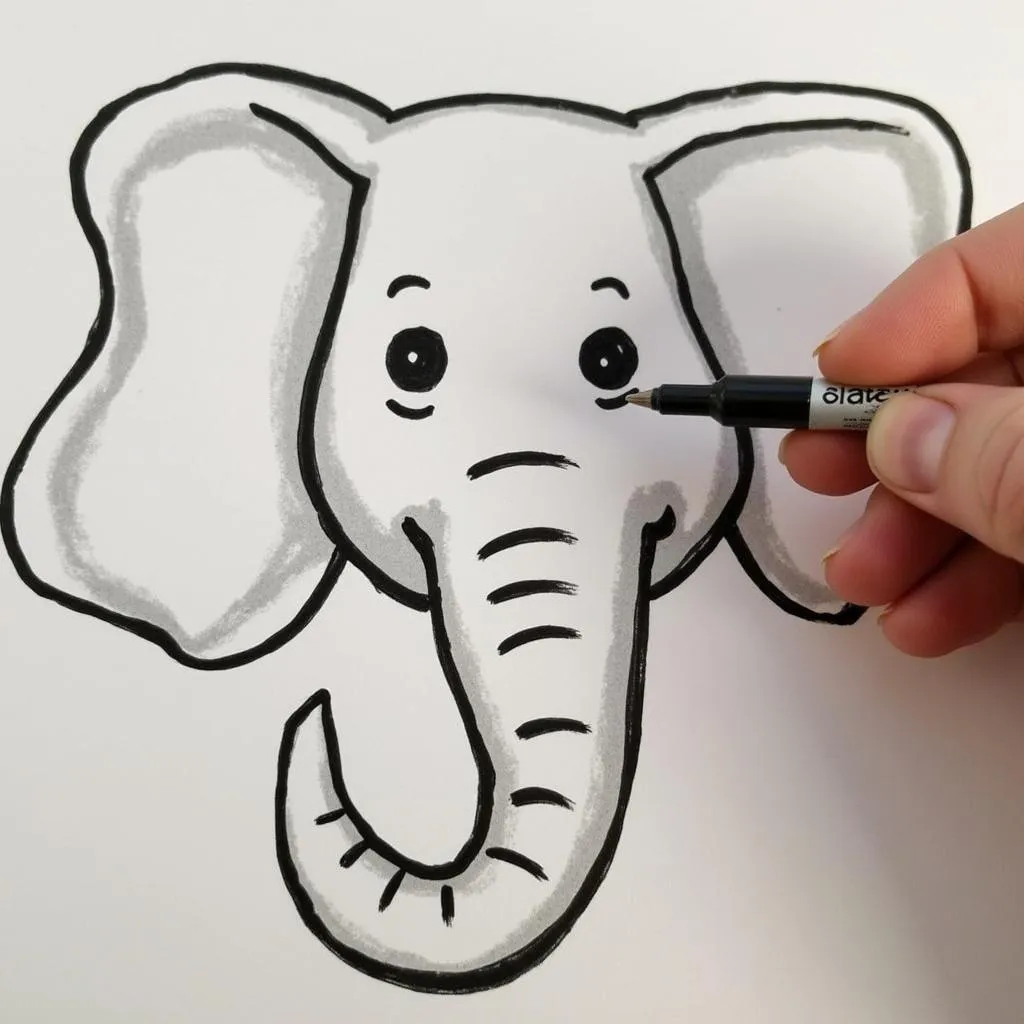
- Ears: Draw two large, curved triangles on either side of the head for the ears. Remember to add a fold line down the middle of each ear.
- Tusks: If you’re drawing an elephant with tusks, draw two curved lines extending downwards from the head, making sure they overlap the trunk.
- Eyes and Tail: Add a small circle for the eye and a thin, tapering line for the tail.
- Wrinkles and Texture: Enhance your drawing with details like skin wrinkles, toenails, and a few subtle lines on the ears to represent their vein structure.
 Close-up of African elephant's head, tusks and trunk
Final Touches and Shading
Once you’re happy with the overall shape and details of your African elephant, you can erase the initial guidelines. Now you can add shading to give your drawing more depth and dimension.
- Light Source: Determine where the light source is coming from. This will determine where the shadows fall on your elephant.
- Shading Techniques: Use techniques like hatching, cross-hatching, or stippling to create the illusion of light and shadow.
- Background: Consider adding a simple background to enhance the focus on your elephant.
Tips for Success
- Don’t be afraid to make mistakes. Remember, drawing is about experimentation and practice.
- Look at reference pictures. Use photographs or illustrations of African elephants as a guide for your drawing.
- Practice makes perfect. The more you draw, the better you will become at capturing the likeness of these amazing animals.
 Simple drawing of a mother African elephant with her calf
Conclusion
Learning how to draw an African elephant is a rewarding experience that connects you with the beauty of the natural world. With these simple steps, even beginners can create a stunning piece of art. Remember to practice, be patient, and most importantly, have fun! So grab your pencils and paper, and let your inner artist roam free in the African savanna.


