African Flower Turtle Crochet Pattern Free: Bring the Savannah to Life with Yarn
Embark on a colorful crafting journey with an African Flower Turtle Crochet Pattern Free to use and bursting with the vibrancy of the African plains! This guide dives deep into the world of amigurumi, exploring how to crochet your very own miniature African flower turtle, perfect as a charming gift or a delightful addition to your home decor.
Unveiling the African Flower Turtle
Before we delve into the crochet pattern, let’s get acquainted with the inspiration behind it – the African flower turtle. Native to the sub-Saharan regions of Africa, this semi-aquatic reptile stands out with its striking, patterned shell that resembles the diverse flora of its habitat.
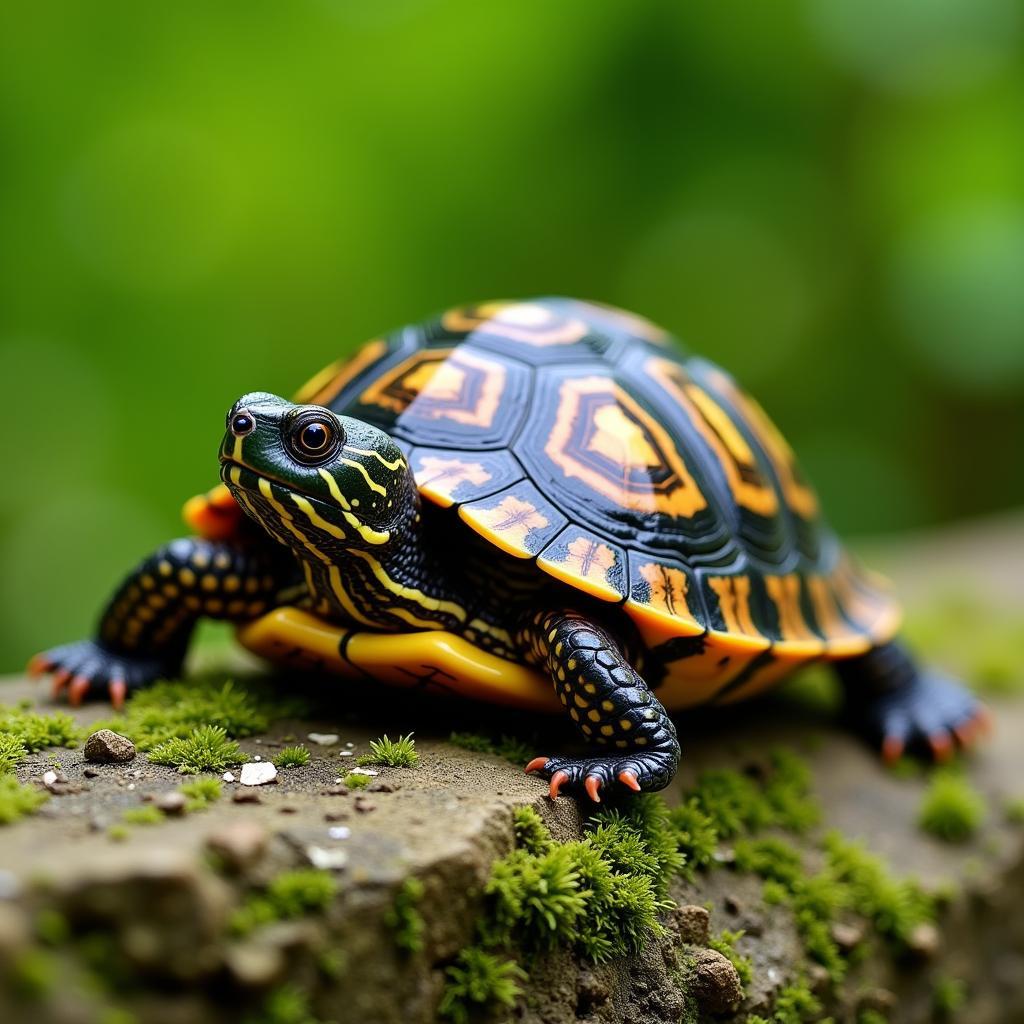 African flower turtle resting on a rock
These fascinating creatures, scientifically known as Kinixys homeana or Kinixys belliana, are relatively small, usually growing no larger than 7-10 inches. Their unique hinge-back shells allow them to partially close their carapaces, providing an extra layer of protection from predators. Their diet primarily consists of plant matter, reflecting their namesake, the “flower” in their name.
Finding the Perfect African Flower Turtle Crochet Pattern Free
The internet is a treasure trove of free crochet patterns, and the African flower turtle is no exception! Numerous talented crocheters generously share their creations online, often accompanied by detailed instructions and helpful images.
When searching for your ideal pattern, consider these factors:
- Skill Level: Are you a beginner, intermediate, or advanced crocheter? Choose a pattern that matches your comfort level and allows you to learn and grow.
- Style: From realistic to cartoonish interpretations, the style of the finished turtle can vary significantly. Browse different patterns to find one that aligns with your aesthetic preferences.
- Clarity and Detail: Opt for patterns with clear, concise instructions, preferably supplemented by step-by-step photos or video tutorials, especially if you’re new to amigurumi.
Remember, the perfect pattern is subjective and depends entirely on your individual preferences and skill level. Don’t be afraid to experiment and try different patterns until you find the one that speaks to you.
Essential Materials for Your Crochet Project
Once you’ve found your ideal African flower turtle crochet pattern free for use, gather your crochet arsenal. Here are the fundamental materials you’ll need:
- Yarn: Opt for a worsted weight yarn in various colors to capture the vibrant hues of the African flower turtle’s shell. Green, yellow, brown, and black are excellent choices.
- Crochet Hook: Select a hook size appropriate for your chosen yarn. The pattern usually specifies the recommended size.
- Fiberfill Stuffing: This gives your crocheted turtle its plump and cuddly form.
- Tapestry Needle: This is essential for weaving in loose ends and attaching different body parts.
- Scissors: Sharp scissors are crucial for snipping yarn cleanly.
- Stitch Markers: These handy tools help you keep track of your stitches, especially when working in rounds.
- Safety Eyes (Optional): Add a touch of realism and personality to your turtle with safety eyes. Alternatively, you can embroider eyes using black yarn.
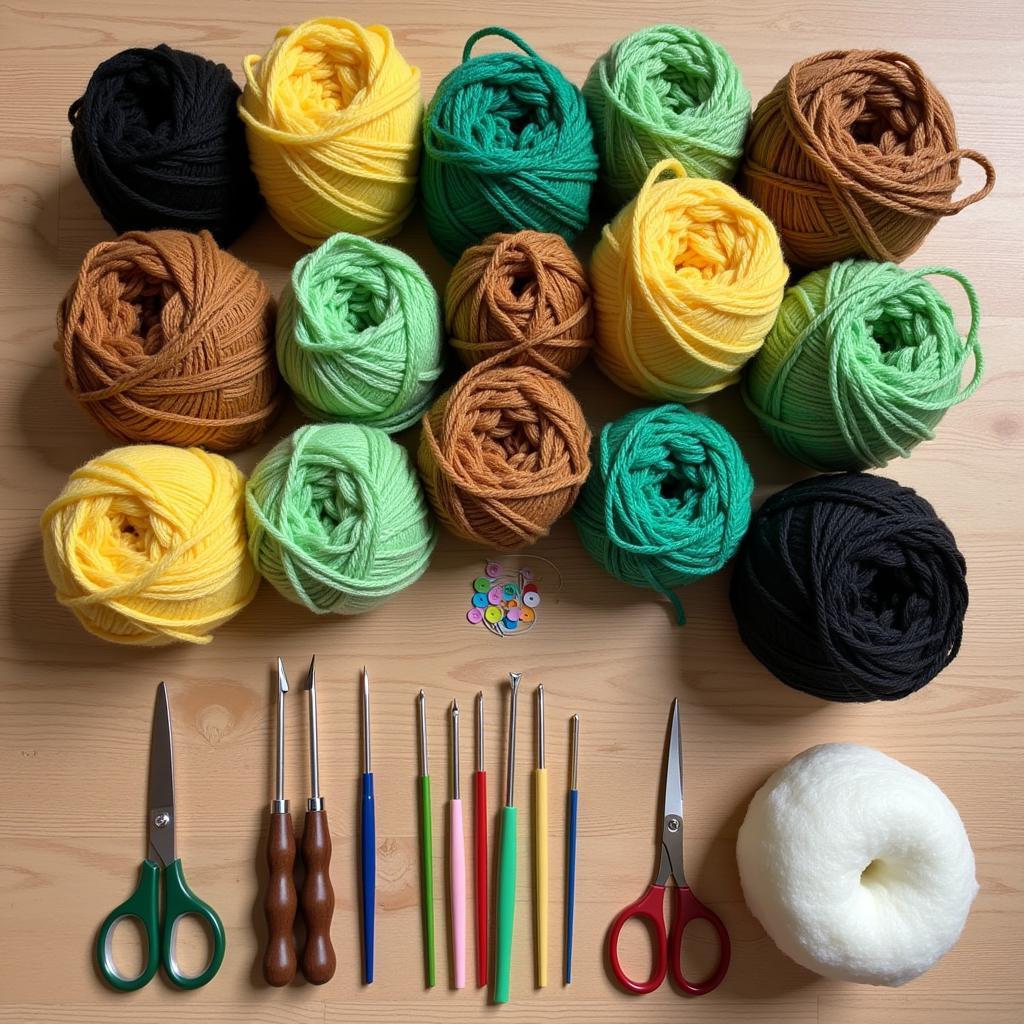 Yarn and tools for crocheting
Bringing Your African Flower Turtle to Life: A Step-by-Step Guide
While each crochet pattern has unique instructions, here’s a generalized step-by-step guide to crocheting an African flower turtle:
- Start with the Shell: Begin by crocheting two identical circles, each representing the top and bottom halves of the turtle’s shell.
- Create the Shell Pattern: This is where your creativity shines! Follow the pattern’s instructions to crochet the intricate patterns on the shell using different colored yarn.
- Assemble the Shell: Once both shell halves are complete, join them by crocheting around the edges, leaving an opening for stuffing.
- Crochet the Body: This typically involves crocheting a smaller oval shape that fits snugly inside the shell.
- Add the Head, Legs, and Tail: Crochet these individual body parts separately, referring to the pattern for specific shapes and sizes.
- Assemble Your Turtle: Attach the head, legs, and tail to the body using your tapestry needle.
- Finalize Your Creation: Weave in any loose ends, attach safety eyes if desired, and give your turtle a final fluff.
Tips and Tricks for Amigurumi Beginners
- Start Slowly: Don’t be discouraged if your first attempts don’t look perfect. Amigurumi takes practice, and each project teaches you valuable skills.
- Count Your Stitches: Accuracy is crucial in amigurumi to maintain the correct shape. Count your stitches regularly, especially when working in rounds.
- Use Stitch Markers: These small but mighty tools are lifesavers, preventing you from losing your place, especially when working with intricate patterns.
- Don’t be Afraid to Unravel: Mistakes happen! Don’t hesitate to unravel and redo sections if needed. It’s better to correct errors early on than to be unhappy with the final result.
Conclusion
Creating your own African flower turtle with a free crochet pattern is a rewarding experience, allowing you to explore the vibrant world of amigurumi while celebrating the captivating beauty of African wildlife. Whether you’re a seasoned crocheter or just starting, this project offers a wonderful opportunity to hone your skills and create a unique, handmade treasure. So grab your crochet hooks, unleash your inner artist, and let the yarn guide you on a creative adventure!